
MEMBUAT PIN SENDIRI
PIN PUNK
Learn how to make your own laminated pins & badges.

The short do-it-yourself version.
| ||||||||
The longer step-by-step version. Step 1 - Choose and prepare your image (message or text)
We're assuming you are capable of doing this without our help. If you can't think of a single image or idea for making a button, then go here.
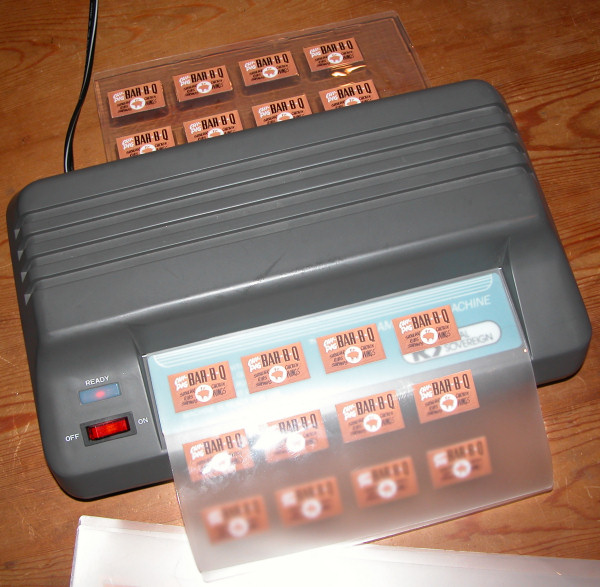
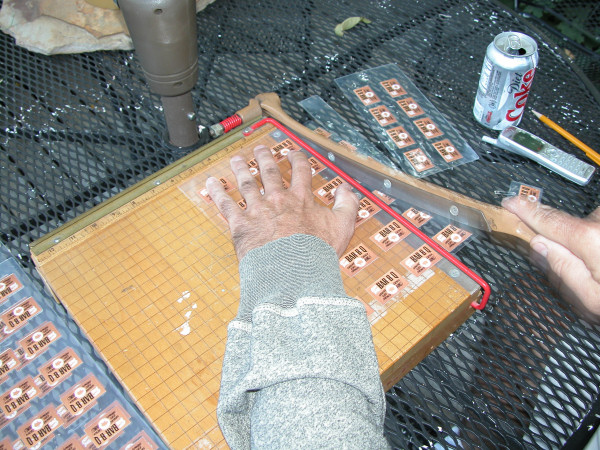
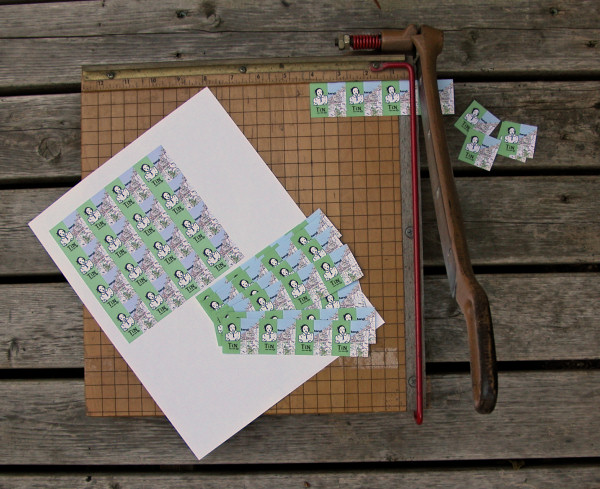 Here I am using my old "guillotine" cutting board to cut a master sheet of 16 (4 x 4) pin images. I trim the sheets, then cut them into rows, and then cut the rows into individual pieces of paper. You don't have to use a cutting board (and if you do, you'll probably want to use a more modern and less dangerous one than this). Of course, you can also just use scissors to cut out the pieces of paper. If you like straight edges, however, your going to want to use a cutting board or a ruler and razor knife. Using a cutting board seems to be the quickest and most efficient way to cut up a lot of pieces of paper. Cutting the paper pins up as precisely as you'd like may take some practice, however, so always be prepared to screw up and waste some of your paper pins during this part of the process. Step 2 - Laminate your image - instructions for hot (thermal) laminating Buy your own double sheets (also called "pouches") of thermal laminating plastic from an office supply store (like Staples) or a copy center (like Kinko's--now FedExKinko's). These sheets/pouches come in various thicknesses. I like to use 5 mil or 10 mil thick laminating plastic -- otherwise the little pins and badges are not strong or durable enough for my tastes. Your own preferences about this may vary, so try out various thicknesses before committing yourself to buying a box of pouches.
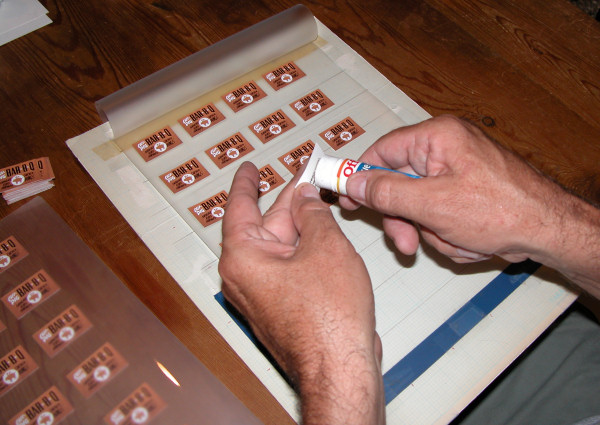 Here I am laying out a 9x11-inch laminating pouch with individual pieces of the pin image. I use just a touch of the glue stick to give the back of the pin image just enough stickiness to stick to the laminating plastic. I created this cardboard graph-paper board to help me layout my pin images in precisely straight rows and columns--leaving just enough space between and above each pin for the clear laminating plastic that will frame each pin. Laying the images out in straight rows and columns make the job of cutting up the laminating plastic into individual pins much easier than if each pin has to be cut out by hand. If you don't have easy access to a laminating machine to melt and press your laminating sheets, then you will need to find a local outlet (such as Kinko's) who will do this for you (for a fee or the laminating may be included in the price of the laminating pouch). If you find yourself making a lot of these laminated pins and badges, you may want to get your own laminating machine. They come in various shapes, sizes, and prices. Don't rush into this. Do your homework before buying. Step 3 - Cut out your laminated image
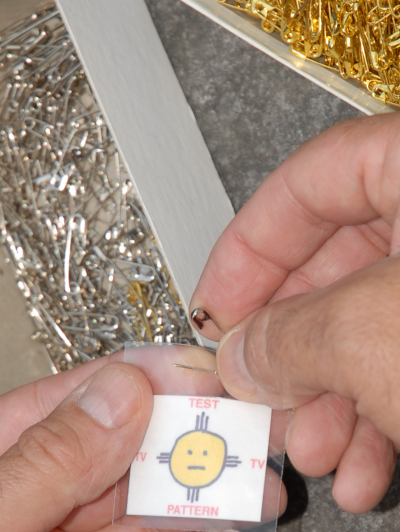
Step 4 - Punch hole(s) in the laminated image
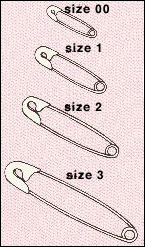
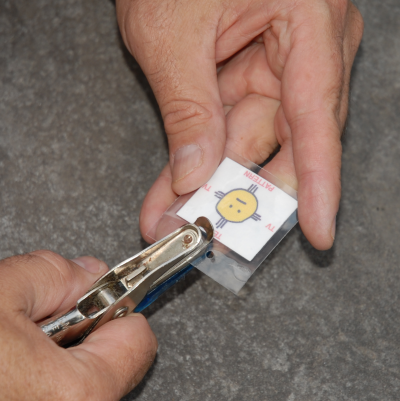 I use a small handheld mechanical paper punch to put holes in the laminating plastic. If I use one hole, the laminated badge will "dangle" from the safety pin. If I use two holes, and put the safety pin through both holes, then the pin is snuggly fastened to the clothes. Paper punches come in different sizes and make holes from 1/8-inch, to 3/16-inch to 1/4-inch. The 1/4-inch punch is the most common and easy to find, but I like to use a 3/16-inch punch for badges because the hole is smaller and doesn't require as much clear plastic above the image (i.e., gives me more choice and room). I like to use the smallest size hole punch--1/8-inch--to make the two holes for a pin. These smaller holes hold the safety pin more tightly insuring the pin won't slip sideways. The 1/8-inch hole punch, however, is the hardest size to find in retail stores. Hand hole punchers - three different hole sizes. When making badges, I use the paper punch to put one medium-sized round hole in the center at the top of the badge (in the the clear plastic above the image). I sometimes punch the hole off-center so the badge will hang at an angle.  When making pins, I use the paper punch to put two small-sized round holes in the clear plastic at the top of the pin. The holes should not be too close, but also not further apart then about three-quarters the length of the safety-pin you are using. You can put the safety pin on the front of the pin and pin it to the cloth or you can push the safety-pin around and through the holes (revolve it from front to back through the holes) so it is on the back of the plastic rectangle. This style holds the pin out from the cloth and some people like this style better--some find it easier to use and affix to their clothes and the safety pin stays with the laminating plastic at all times). My own preference is the regular pin type with the safety pin on the front. It's simpler and easier to assemble. Your preferences may differ and may vary depending on the pin, the audience, and the project. All three fastening methods are illustrated in the picture below. 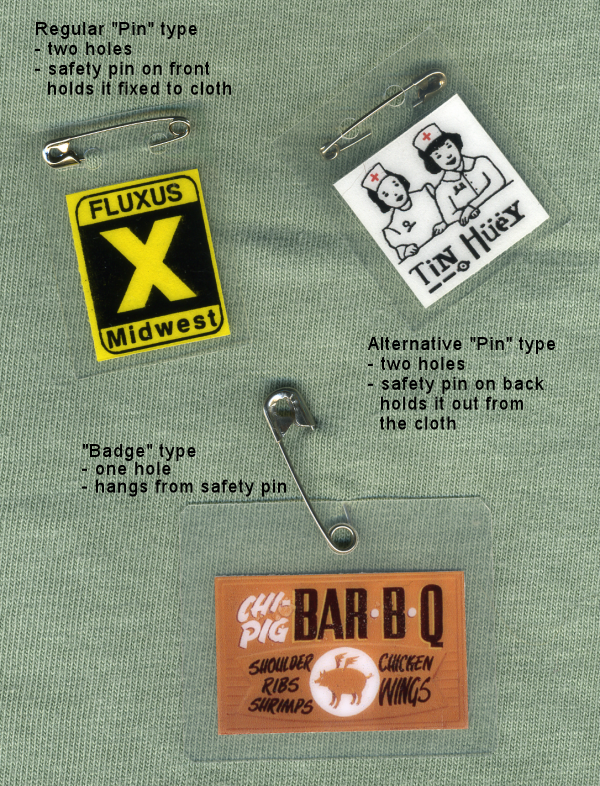 Step 5 - Add a safety pin
Step 6 - Wear it and hand them out!Although the creative process is (or should be) its own reward and pleasure, wearing these pins and badges out and seeing (or imagining) the reactions of others is also fun. Most people on the planet have never or rarely seen a laminated pin or badge before, so they are often impressed by the simplicity and novelty of it. Make a bunch of pins and hand them out to family, friends, and strangers! | ||||||||
 |  |  |
TUKARAN LINK SILAHKAN COPY LINK DI BAWAH INI


0 komentar:
Posting Komentar